Installing RASON with Solver SDK
To install the Solver SDK to work with any 32-bit version of Microsoft Windows or Linux, simply run the program SDKSetup.exe, which contains all of the Solver files in compressed form. To install Solver SDK to work with 64-bit version of Windows, Linux, or Mac OSX, run SDKSetup64.exe.
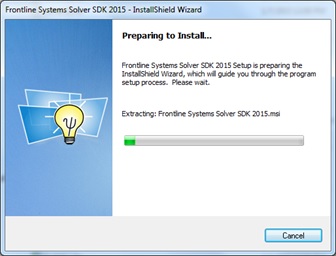
Depending on your Windows security settings, you might be prompted with a message Do you want to run this software?, showing Frontline Systems, Inc. as the publisher. You may safely click Run in response to this message. You'll first see a dialog like the one below, while the files are decompressed:
Next, you'll briefly see the standard Windows Installer dialog. Then a dialog box like the one shown below should appear:
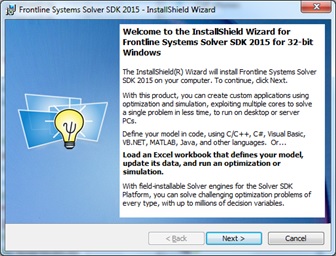
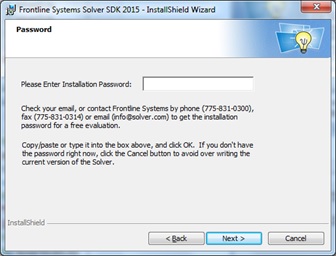
Click Next to proceed. You will then be prompted for a password for this installation, which Frontline systems will provide (normally by email). Enter this password into the dialog box, and click Next.
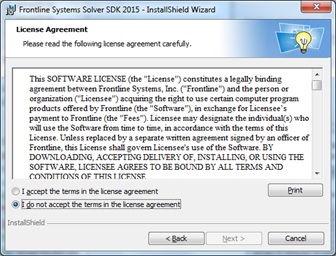
The Setup program will then ask if you accept Frontline's software license agreement. You must select "I accept" and click Next in order to proceed.
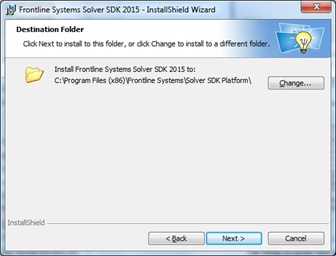
The Setup program then displays a dialog box like the one shown below, where you can select or confirm the folder to which files will be copied (normally C:\Program Files\Frontline Systems\Solver SDK or if you are installing 32-bit Solver SDK on 64-bit Windows, C:\Program Files(x86)\Frontline Systems\Solver SDK Platform). Click Next to proceed.
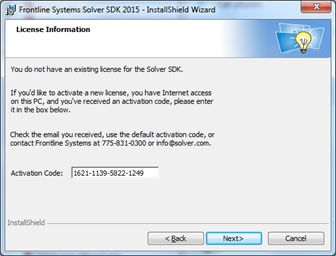
Next, the Setup program looks for the license file Solver.lic that may already exist on your system - normally the environment variables FRONTLIC contain the path to this license file - and checks your license status. If you do not have an existing license, then an activation code is prefilled.
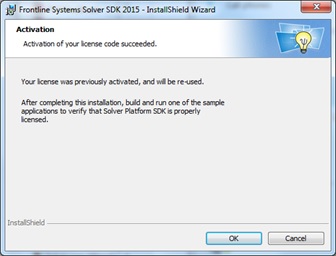
If you have been given an activation code from either Technical Support or Sales, please enter this code here (you must have Internet access for this to succeed). The Setup program will display a dialog reporting whether your license was successfully activated. This is not required - you can simply click Next.
Click OK to proceed.
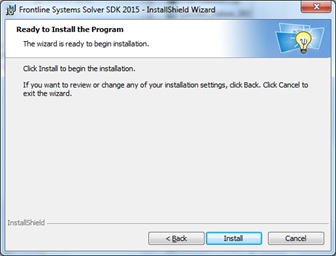
You will see a dialog confirming that preliminary steps are complete, and the installation is ready to begin. Click Install to proceed.
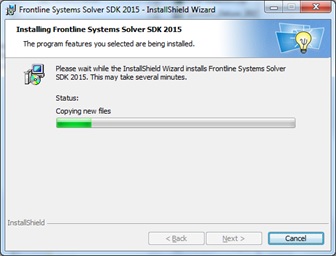
After you click Install, the Solver SDK files and examples will be installed. A progress dialog appears, as shown below. This may take several minutes to complete.
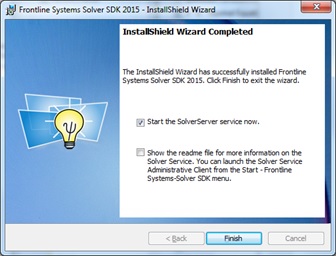
When the installation is complete, you'll see a dialog like the one below. Click Finish to exit the installation wizard.
If you would like to start the SolverServer service, which allows a Client machine (PC, phone, tablet, etc.) to solve a model remotely with the Solver SDK Platform, then please check Start the SolverService now checkbox. If you choose not to start the SolverServer service at this time, it can be started manually at a later time. For more information on our SolverServer service, please see the chapter, Using SolverServer Service within the Solver SDK Platform User Guide.
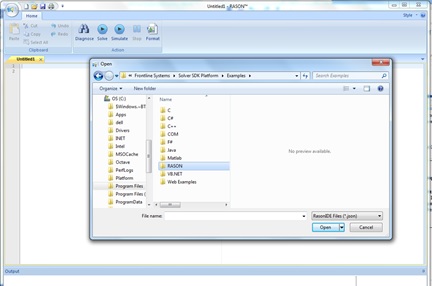
Solver SDK is now installed. To open the RASON IDE, browse to C:\Program Files\Frontline Systems\Solver SDK Platform\Bin and open the file RasonIDE.exe. All RASON example models located at C:\Program Files\Frontline Systems\Solver SDK Platform\Examples\RASON may now be opened and executed.
Note: To uninstall Solver SDK, just run the SDKSetup or SDKSetup64 program as outlined above. You'll be asked to confirm that you want to remove the software.
You can also uninstall by choosing Control Panel from the Start menu, and double-clicking the Programs and Features or Add/Remove Programs applet. In the list box below "Currently installed programs," scroll down if necessary until you reach lines beginning with "Frontline," select Solver SDK Platform 2015 and click the Uninstall/Change or Add/Remove... button. Click OK in the confirming dialog box to uninstall the software.
|