Creating Your Own Web Application
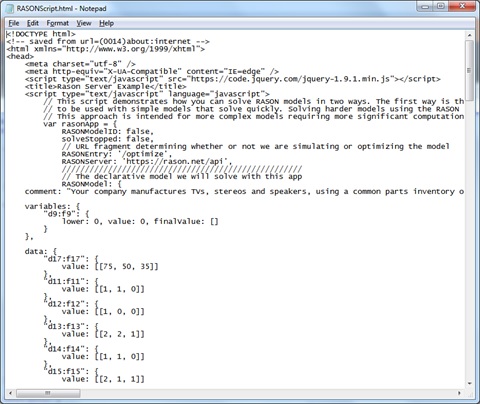
When Create App – Web Page is clicked, a demo JavaScript application is created that solves the model within the RASON model editor. This file, RasonScript.html is downloaded
locally. A snippet of the generated code is shown inside the Notepad application in the screenshot below.
A closer inspection of RASONScript.html will reveal the RASON code for the Product Mix example model, along with a call to the "Quick Solve" method to illustrate how to
solve a simple model quickly, and also to the RASON REST API to demonstrate how to solve harder, more time consuming models. This sample application, written in HTML, Css
and JavaScript, is just an example of how an application can be designed. For more information on the RASON REST API endpoints, see below.
To run this application, click back to the Editor page on RASON.com and again click Create App. This time open RASONScript.html in a browser of your choosing.
The RASON example code is displayed, along with command buttons below that allow you to call the Quick Solve method (Quick Solve) along with a call to the
RASON REST API (Solve).
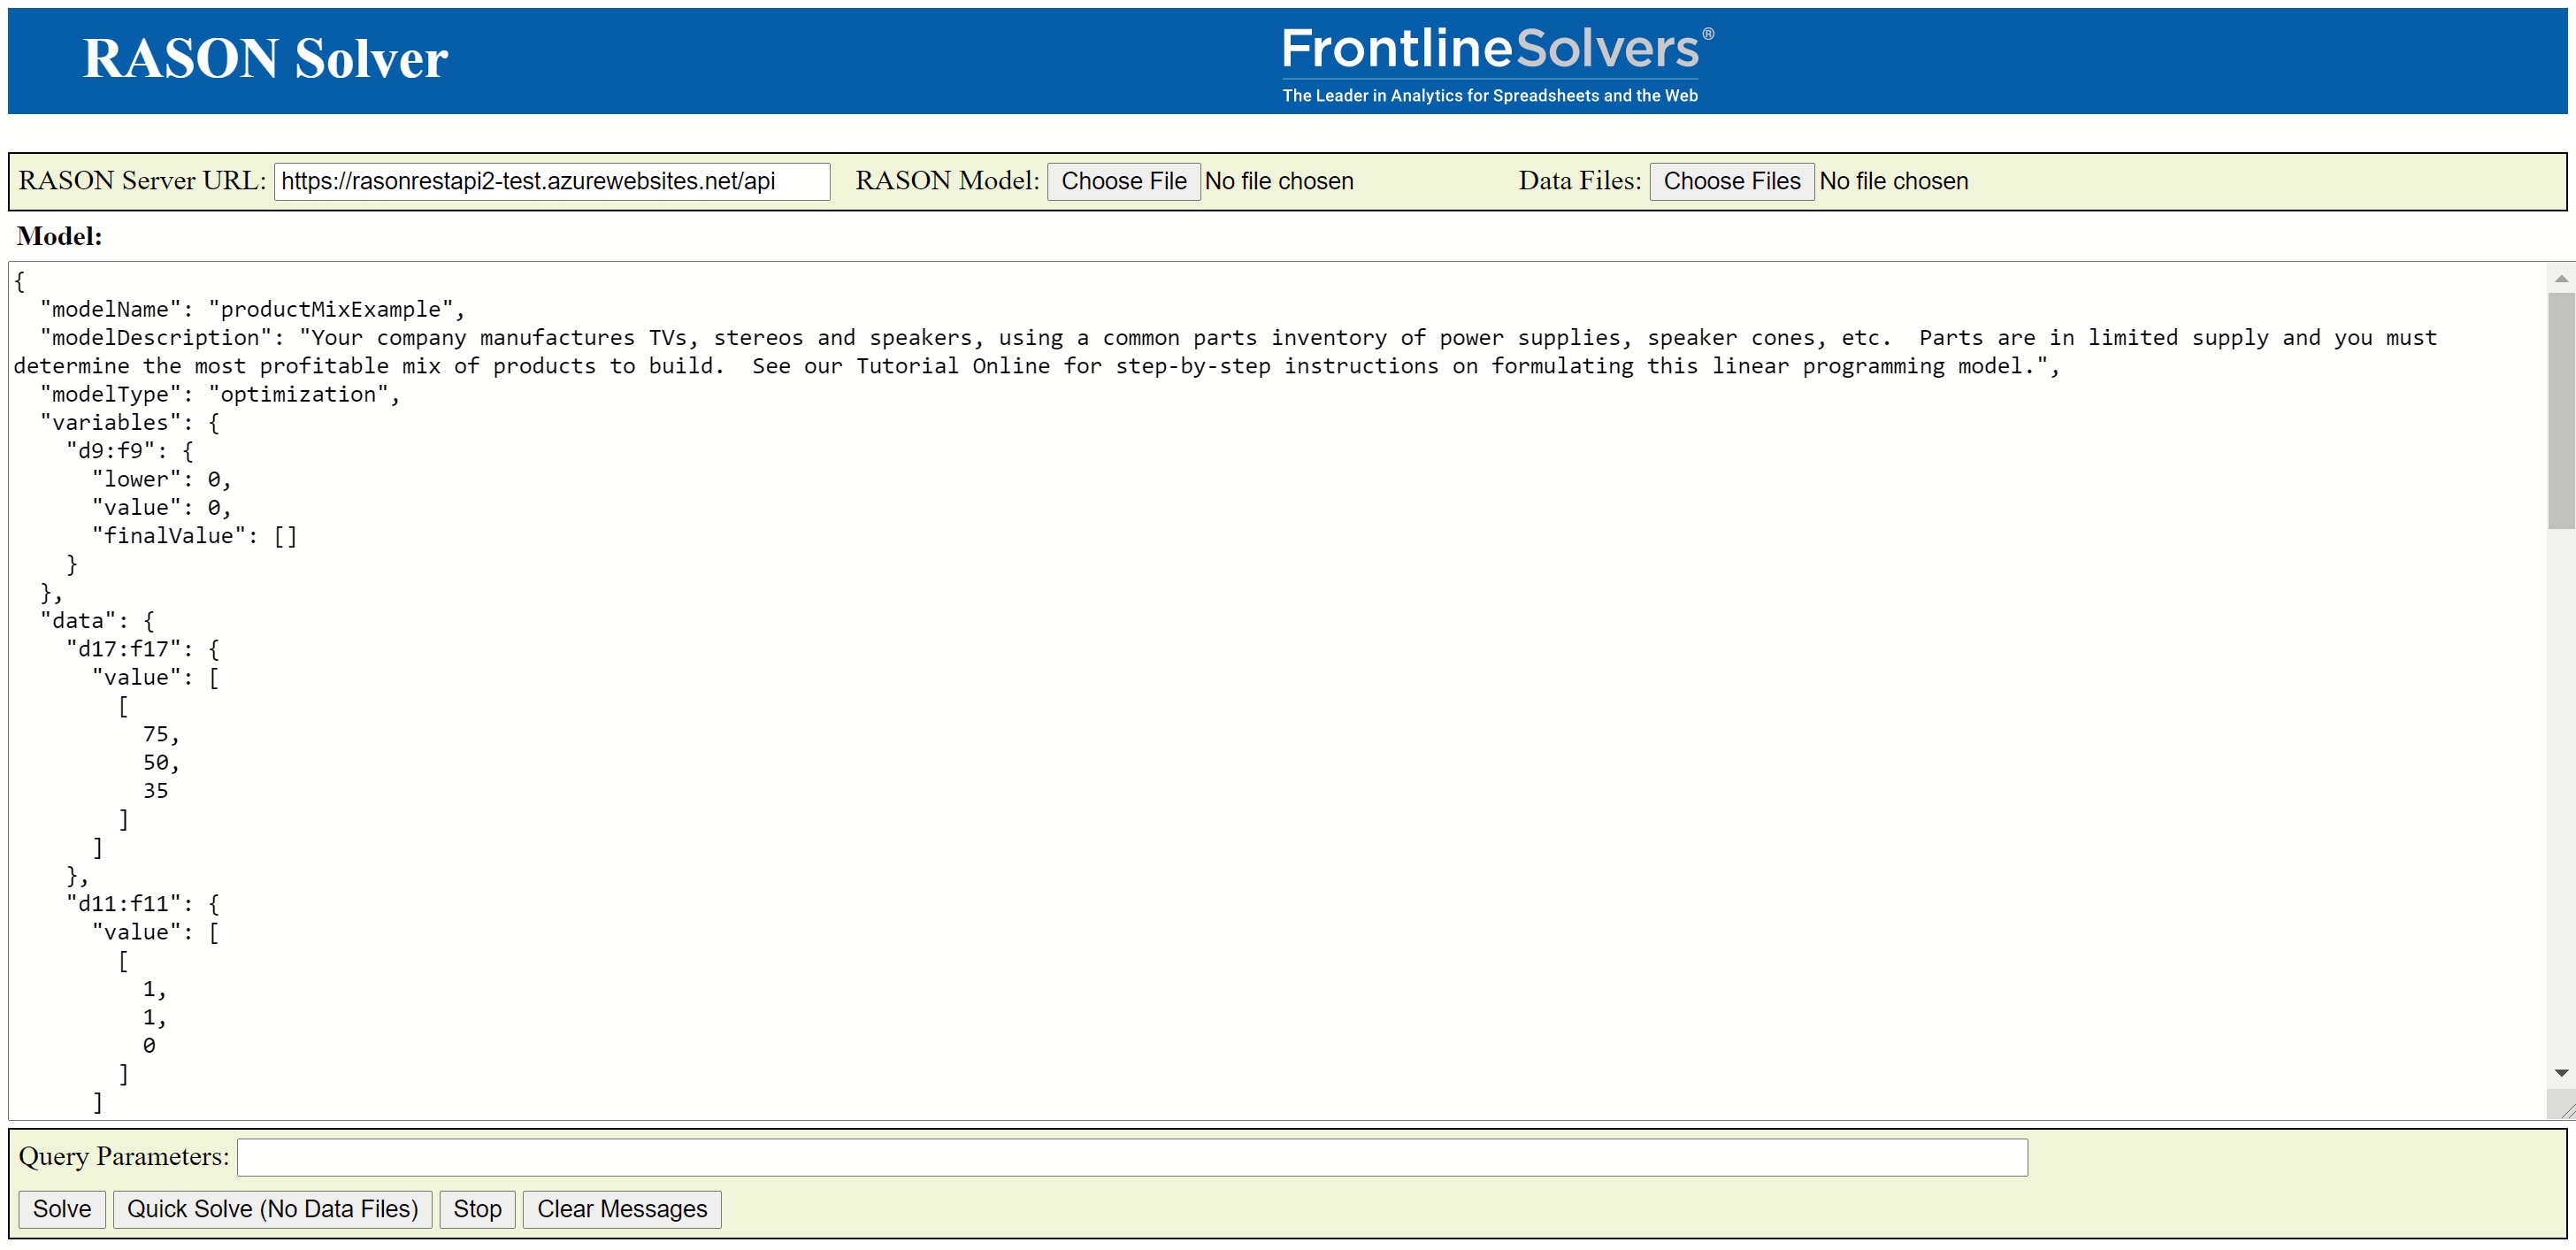
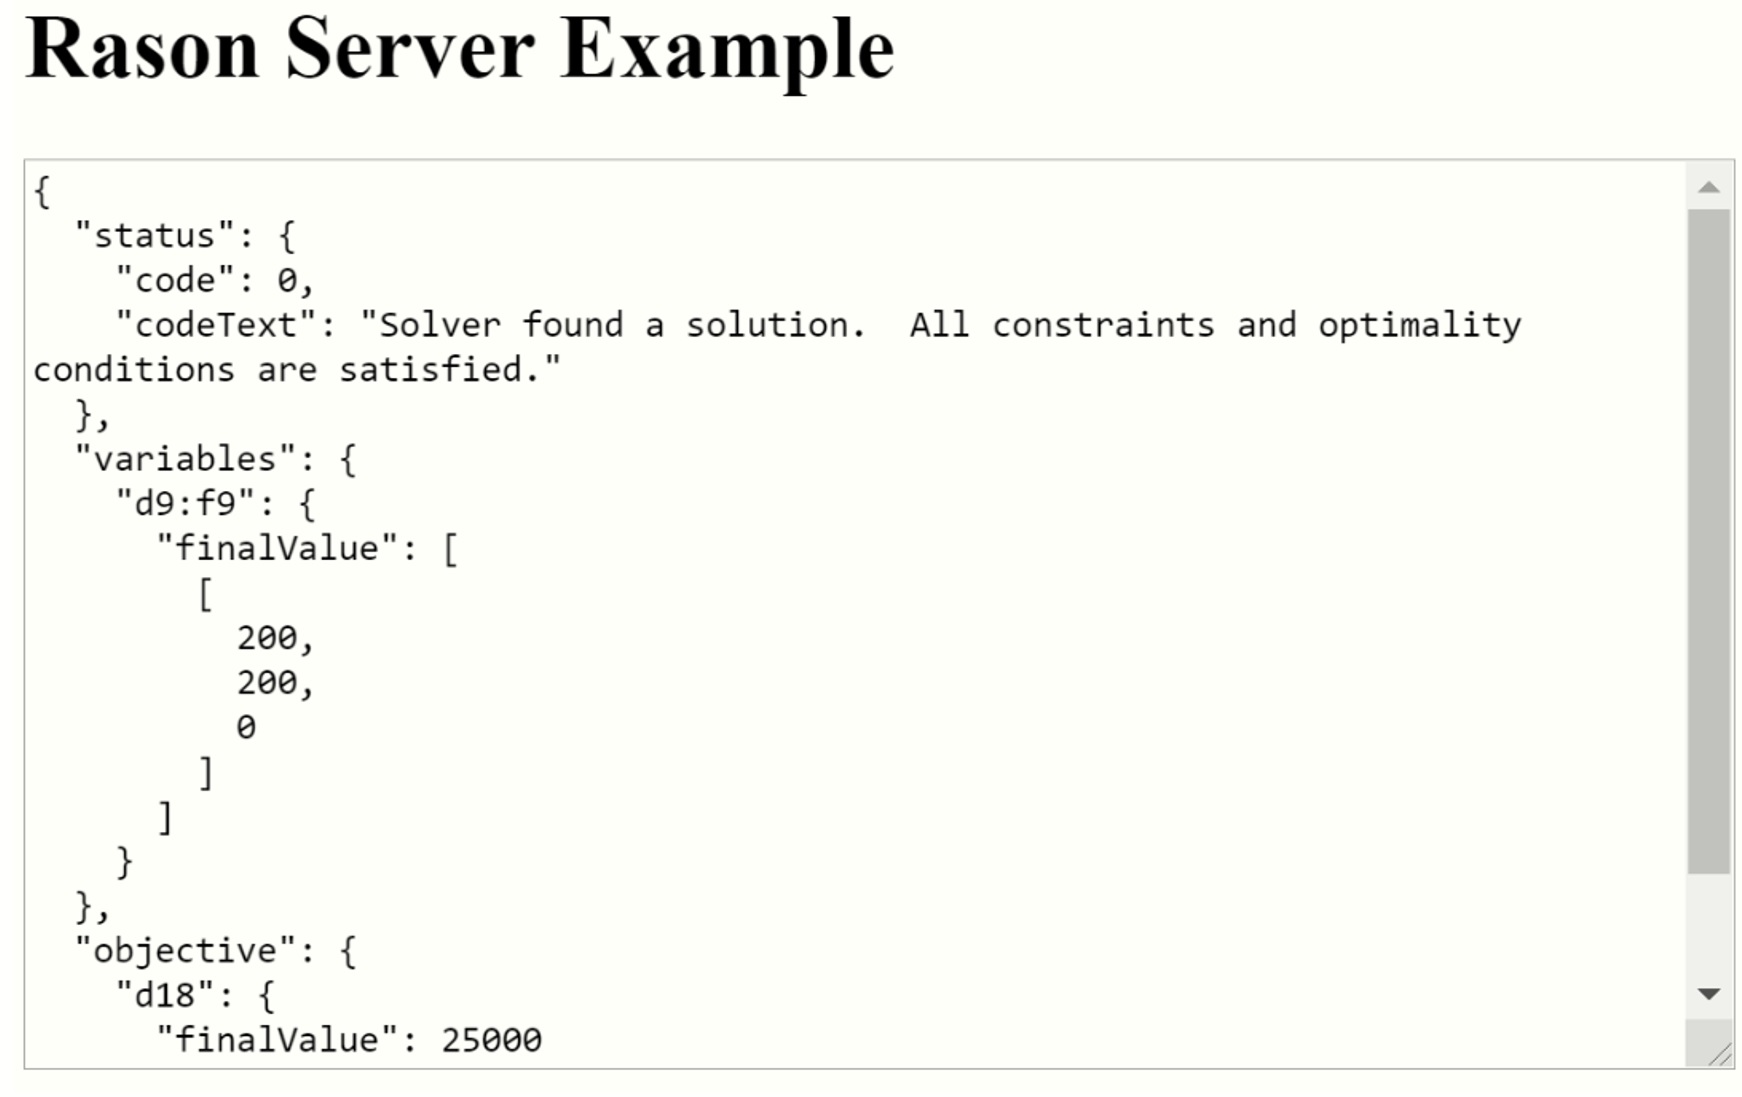
Click Quick Solveto solve the model and retrieve the result. The Web application created by Create App - Web Page solves models of all types: decision flows,
optimization, simulation, decision tables and data science.
|